If you just unboxed and set up your first Mac after years on Windows, you’re far from alone in feeling that mix of excitement and tiny “now what?” panic. macOS looks sleek and easy to use at first glance—but if you’re used to Windows, its little quirks can throw you off.
Before you throw in the towel and try installing Windows on your Mac, though, we’ve got a step-by-step guide for your first day with the machine. Think of it as a “survival kit” for anyone making the Windows-to-Mac jump.
1. Get Comfortable with Finder (Your New File Explorer)
Windows users live in File Explorer—and on Mac, that tool’s twin is Finder. It’s where you’ll organize files, plug in external drives, and manage folders. Here’s what to know:
- The left sidebar is your shortcut to Desktop, Downloads, and any external drives you connect.
- Forget the “C: drive” you know from Windows—on Mac, that’s replaced by Macintosh HD (or whatever you named your Mac’s main storage).
- Want to preview a file without opening it? Hit the spacebar—this is called Quick Look, and it’s a total time-saver.
Pro tip: Turn on the Path Bar in Finder (go to View > Show Path Bar) so you always know where your files are stored. It’s a game-changer if you’re used to navigating Windows folders.
2. Learn Mac’s Keyboard Shortcuts (Your Muscle Memory Will Adjust)
Windows shortcuts won’t all work here—but the switch is easier than you think. Here’s the cheat sheet:
- The Command key (⌘) (that’s the one with the little Apple or clover icon) replaces Windows’ Control key. So Copy = ⌘C, Paste = ⌘V, Select All = ⌘A.
- Windows’ Alt key is now Mac’s Option key (⌥).
- Backspace? That’s just the Delete key (⌫) on Mac. For “forward delete” (deleting text to the right of your cursor), press Fn + Delete.

Spend 5 minutes practicing these basics—mastering them will make your Mac feel familiar fast. If you want to dive deeper, check out our full guide: Use Familiar Windows Commands on Mac.
3. Install Essential Apps (and Their Mac Alternatives)
Not every Windows app works on macOS—but there are great Mac-native options (or web tools) for almost everything. Here’s what to grab:
- Office tools: Microsoft Office (including Microsoft 365 subscriptions) works seamlessly on Mac. If you want a free alternative, Apple’s own Pages (word processing), Numbers (spreadsheets), and Keynote (presentations) are built in and totally sleek.
- Task Manager replacement: Ditch Windows Task Manager for Activity Monitor. It shows real-time data on what’s using your Mac’s CPU, memory, and battery—and it’s more powerful than Task Manager, too.
- Window management: Miss Windows’ “snap” feature (dragging windows to the edge to resize)? macOS Sequoia added basic snapping, but for more control, download apps like Rectangle or BetterTouchTool. These also help if you want more right-click options (Mac’s right-click works, but it’s not identical to Windows’).
- Productivity tools: Apps like Monday.com (project management) or Close CRM (customer management) work great on Mac—either via desktop apps or the web. There are also tons of Mac-specific productivity tools to help you stay organized.
4. Connect Your Accounts & Sync Your Data
Windows users rely on Microsoft accounts—on Mac, the go-to is iCloud. Here’s how to set it up:
- Head to System Settings > Apple ID and log in with your Apple account (or create one if you don’t have it).
- Turn on iCloud Drive to sync files across your Mac, iPhone, and iPad.
- Enable iCloud Keychain for password management—it’s a lifesaver if you used Chrome or Edge’s password sync on Windows.
If you’re coming from OneDrive, don’t worry: You can install the OneDrive app on Mac, or move your files to iCloud, Dropbox, or Google Drive instead.
5. Explore System Settings (Goodbye, Control Panel)
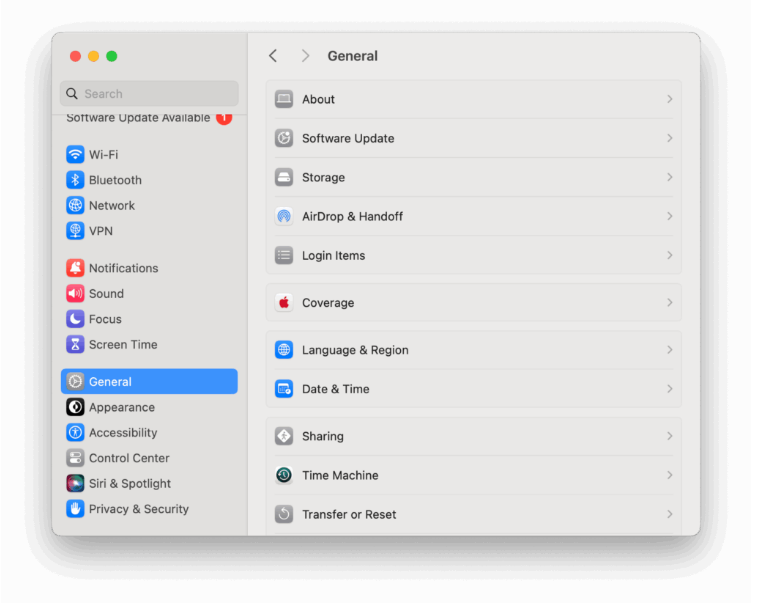
That Windows Control Panel or Settings app you know? On Mac, it’s all under System Settings. This is where you’ll:
- Set up Wi-Fi, Bluetooth, and printers.
- Check for updates (go to General > Software Update).
- Tweak accessibility features, trackpad gestures, and notifications.
The search bar at the top of System Settings is your best friend—if you can’t find a setting (we’ve all been there), just type it in, and it’ll take you right to it.
6. Master the Dock & Mission Control
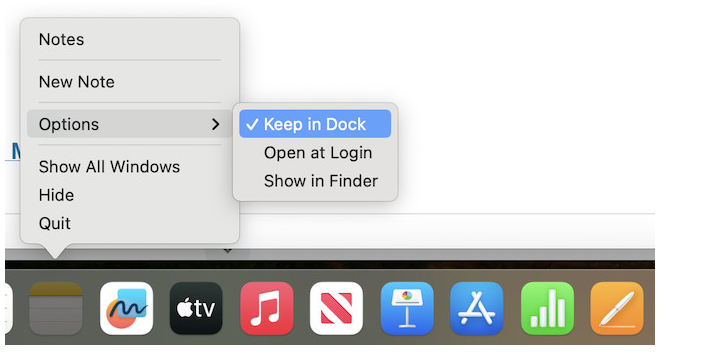
Say goodbye to the Windows taskbar—Mac’s got the Dock, sitting at the bottom of your screen. Here’s how to use it:
- Drag apps into the Dock to launch them quickly.
- Right-click an app icon and select Options > Keep in Dock to pin it there permanently.
- Use Mission Control (hit F3 or swipe up with 3 fingers) to see all your open windows at once.
If you used Windows’ virtual desktops, Mac has those too—they’re called Spaces. Swipe left or right with 3 fingers to switch between them.
7. How to Install & Uninstall Apps on Mac (No More .exe Files)
Forget Windows’ .exe installers—Mac apps mostly come in .dmg files. Here’s the process:
- Open the .dmg file, then drag the app icon into your Applications folder. That’s it—you’re done installing.
- To uninstall an app, just drag it to the Trash. Heads up, though: This might not delete every small file the app left behind (like preferences).
For a deeper dive, check our guide: How To Uninstall Apps on a Mac.
8. Use Spotlight Search (Windows Search, But Better)
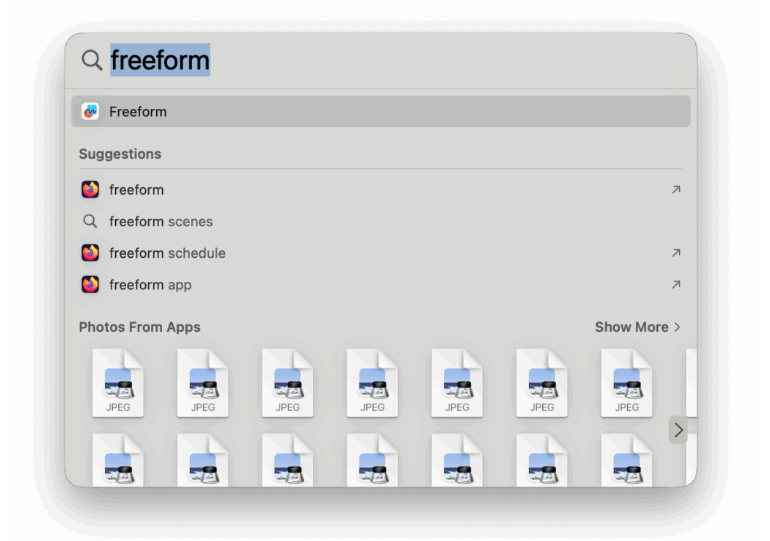
Think of Spotlight as Windows Search on steroids. Hit Command + Spacebar, then type:
- App names (it’ll open them instantly).
- Document titles (no more digging through folders).
- Calculations (just type “25*4” and it’ll show the answer).
- Even currency conversions (try “100 USD to EUR”).
It’s one of the fastest ways to navigate your Mac—you’ll wonder how you lived without it.
9. Set Up Backups with Time Machine
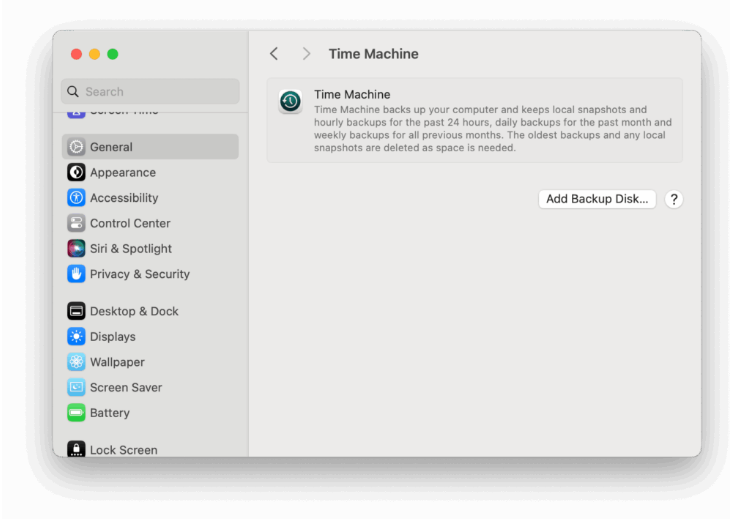
If you used Windows’ File History or manually backed up files, Mac has a smarter solution: Time Machine, and it’s free. Here’s how to use it:
- Plug in an external drive (an SSD or Thunderbolt drive works best for speed).
- Go to System Settings > Time Machine.
- Let macOS do its thing—it’ll automatically back up everything, including system files, apps, and photos.
If something goes wrong (like you delete a file by accident or macOS glitches), Time Machine lets you revert to an earlier version of your Mac. For more details, check our guide: How to Backup a Mac with Time Machine.
10. Make macOS Feel Like Yours
Finally, customize your Mac to match your style—small changes go a long way:
- Add widgets to the Notification Center (weather, calendar, to-do lists—whatever you need).
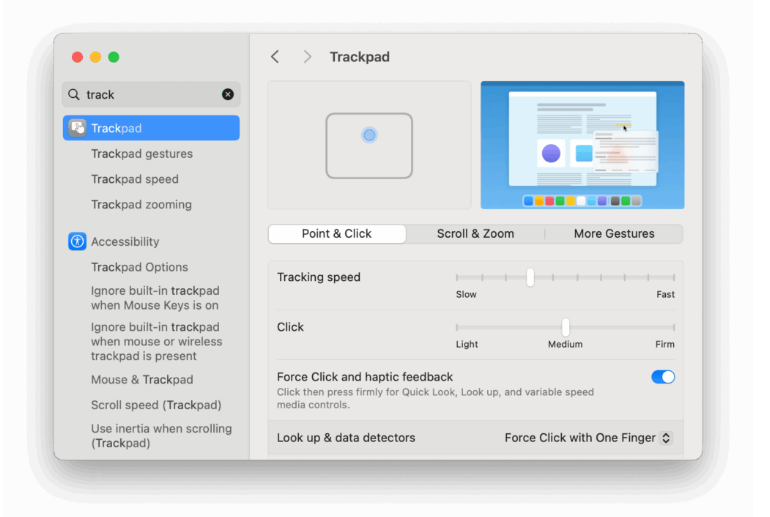
- Tweak trackpad gestures (go to System Settings > Trackpad) to make scrolling or clicking feel natural.
- Change your wallpaper or resize the Dock (right-click the Dock > Dock Settings).
These little tweaks will make macOS feel less “new” and more like your go-to workspace.
Conclusion
Switching from Windows to Mac isn’t about unlearning everything—it’s about getting the hang of macOS’s different (but totally logical) way of doing things.
Day one might feel overwhelming, but follow these steps, and you’ll transition smoothly. In a day or two, you’ll start to see why Mac users love their machines—and you’ll unlock all the great features your new Mac has to offer.
Still stuck on a Windows-to-Mac quirk? Check out our full guide for more tips.
Handy Shortcut Table: Windows Feature vs. Mac Equivalent
| Windows Feature | Mac Equivalent | Notes / Tips |
| File Explorer | Finder | Quick Look (hit the spacebar) lets you preview files without opening them. |
| Task Manager | Activity Monitor | Force-quit unresponsive apps with ⌥ + ⌘ + Esc (a total lifesaver). |
| Start Menu | Dock & Spotlight | Dock for pinned apps; Spotlight (⌘ + Space) for fast searches. |
| Control Panel / Settings | System Settings | Use the top search bar to find settings in seconds. |
| Right-click | Two-finger click / Secondary Click | Enable in System Settings > Trackpad. |
| Snap Assist | Third-party apps (Rectangle, Magnet) | macOS has basic snapping, but third-party tools add more control. |
| Backspace / Delete | Delete (⌫) | Press Fn + Delete for forward delete (text to the right of your cursor). |
| Windows Key | Command (⌘) | Works for copy (⌘C), paste (⌘V), and other core shortcuts. |
| Alt Key | Option (⌥) | Used for shortcuts and typing special characters (like é or £). |
| File History / Backup | Time Machine | Automatically backs up to an external drive—set it and forget it. |
FAQs About Moving from Windows to Mac
Can I run Windows programs on a Mac?
Yes! The easiest way is to use a virtual machine (like Parallels Desktop or VMware Fusion Pro), which lets you run Windows and macOS side by side. If you just need a few apps (or want to play Windows-only games), CrossOver works without a full Windows install. Intel-based Macs also support Boot Camp (for dual-booting Windows), but Apple Silicon Macs don’t.
Do Macs need antivirus software?
macOS has built-in security tools (XProtect and Gatekeeper) that block most threats, so most users don’t need extra antivirus. But if you download apps outside the Mac App Store or want extra peace of mind, tools like Intego Mac Internet Security or Bitdefender for Mac are good options.
Where is the Task Manager on Mac?
Mac uses Activity Monitor instead. Find it in Applications > Utilities—it shows CPU, memory, energy, and network usage. For quick force-quits, press Option + Command + Esc.
How do I right-click on a Mac?
Most Mac trackpads support a two-finger click for right-click. Enable it in System Settings > Trackpad > Secondary Click. If you use a mouse, most third-party models have a standard right-click button that works right away.
Can I use my old Windows keyboard and mouse with a Mac?
Absolutely! Most USB or Bluetooth keyboards/mice work seamlessly. Just note: The Windows key = Command (⌘), and Alt = Option (⌥). If you want to remap keys, go to System Settings > Keyboard > Keyboard Shortcuts.
How do I install or uninstall programs on Mac?
- Install: Open the app’s .dmg file, then drag the app to Applications.
- Uninstall: Drag the app to the Trash. For a thorough uninstall (to delete leftover files), use a tool like AppCleaner.
Can I use OneDrive, Google Drive, or Dropbox on Mac?
Yes! All major cloud services work on macOS. If you’re coming from Windows, install the OneDrive app to keep your files synced—just like you did on your PC.